An EV charging port not working is one of the most frustrating problems an electric vehicle owner can face. The issue might be something simple you can fix yourself in minutes, or it could signal a deeper electrical fault requiring professional attention. Understanding what's actually wrong is the first step to getting back on the road.
The charging port is your vehicle's critical interface between the car's battery system and the external power source. When it fails, the entire charging process breaks down. Common causes range from physical debris and corrosion inside the port to electrical faults in the vehicle's onboard charging system or issues with the charger itself.
In Kettering and across the Midlands, many EV owners attempt basic troubleshooting before seeking help. This guide walks you through exactly what to check, what you can safely fix yourself, and when to bring in specialist diagnostics. Knowing how to diagnose the problem properly can save considerable time and expense.
Start by confirming the charger is functioning. If you're using a public charging point, try a different one. If you're using a home wall box, check whether the circuit breaker has tripped and look at the charger's display panel for error codes or warning lights.
Next, check your vehicle's display. Navigate to the charging menu on your dashboard. Does the car recognise that a cable is connected? Is it showing any fault codes? Write down any codes you see, as these are invaluable when seeking professional help.
Try a different charging cable if you have access to one. A faulty cable can prevent the handshake between vehicle and charger. Check the vehicle's battery state, if the battery is extremely cold or hot, some vehicles refuse to accept charge as a safety measure (peer-reviewed research). Allow the battery to reach a moderate temperature and try again.
If the vehicle still won't charge after these checks, the problem likely lies with the charging port, the onboard charging system, or the vehicle's electrical architecture. Move on to physical inspection.
Step 2: Inspect the Charging Port for Physical Damage
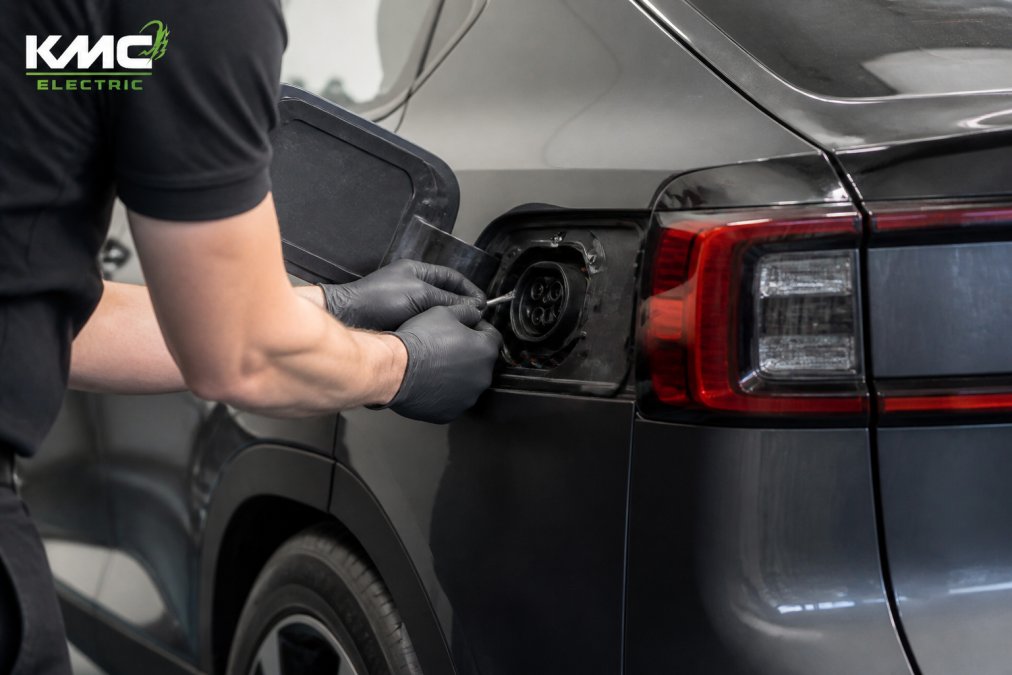
Now examine the charging port itself. Power off the vehicle and ensure the charger is disconnected before you begin.
What to look for inside the port
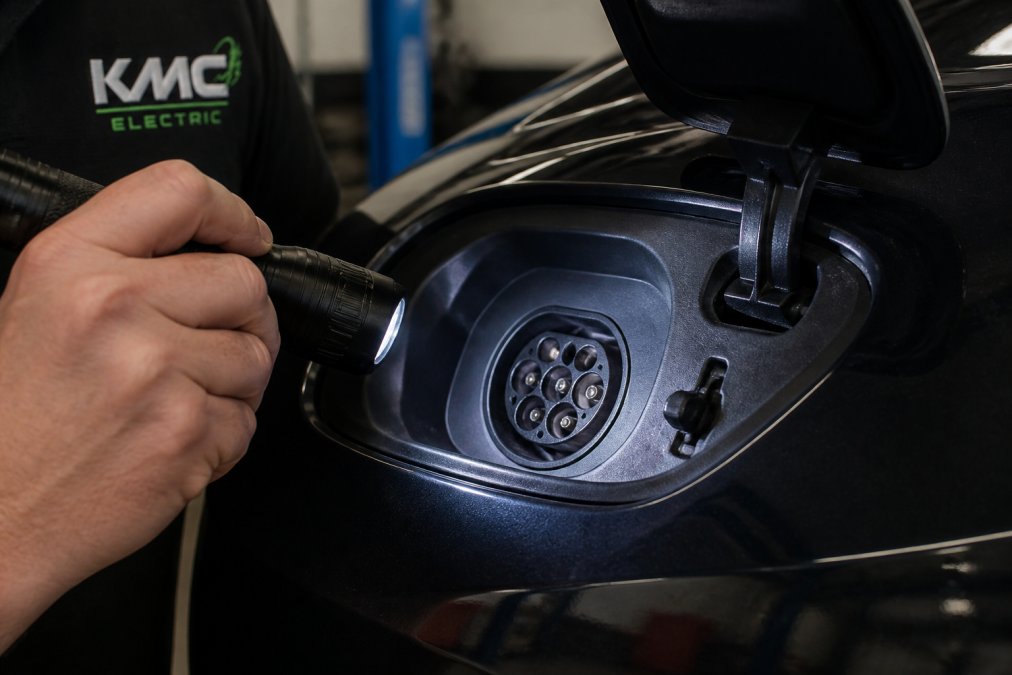
Open the charging port cover and look inside with a torch. You're looking for several specific issues:
Corrosion or oxidation. The contacts inside the port should be shiny metal. If they look discoloured, dull, white, green, or black, corrosion has begun and prevents proper electrical contact.
Loose or bent contacts. The metal pins or flat contacts should be firmly seated and straight. If any appear bent or misaligned, they won't make reliable contact with the charging cable.
Debris or foreign objects. Look for dirt, dust, leaves, water, or anything else inside the port. Even small particles can prevent the cable from seating properly.
Water or moisture. If the port looks wet or you see condensation, the seal may be compromised. Moisture inside an electrical port requires professional attention.
Cracks in the plastic housing. The port casing should be intact. Cracks allow water ingress and create safety risks.
Process diagram showing steps for close-up and photograph and hand concepts for EV charging port not working
Cleaning the port safely
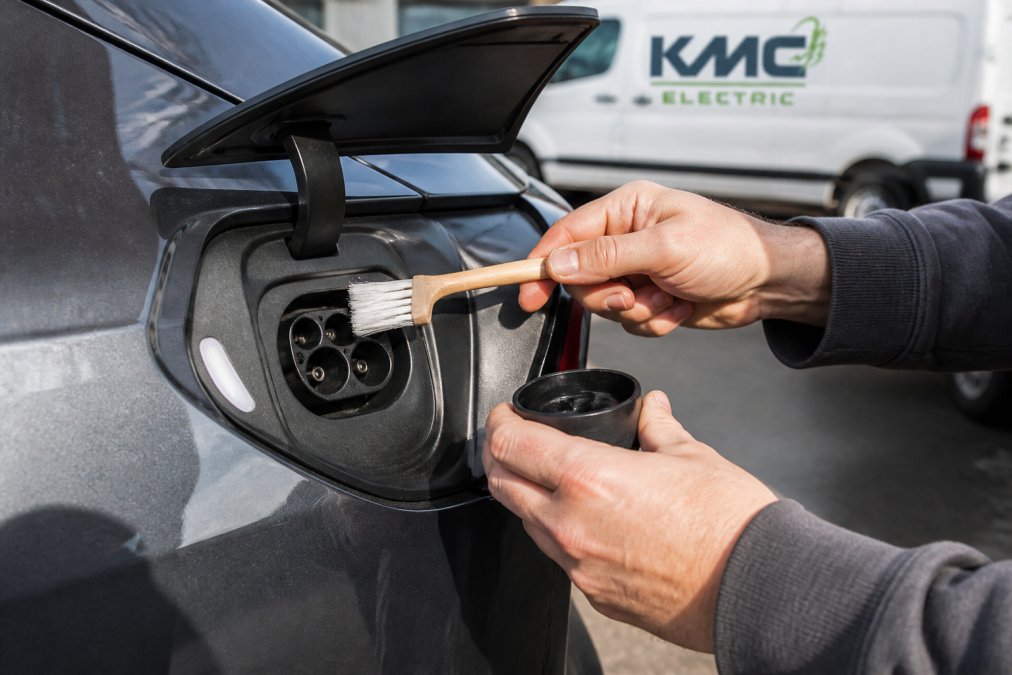
If you've identified light corrosion or minor debris, you may be able to clean the port yourself. You'll need a soft-bristled brush, isopropyl alcohol, and lint-free cloth. Do not use water, as it causes further corrosion and electrical damage.
Dip the brush lightly in isopropyl alcohol and gently brush the contacts inside the port using deliberate strokes. Wipe away any residue with a lint-free cloth and allow the port to dry completely before attempting to charge.
If corrosion is heavy or you're uncomfortable working inside the port, stop here. Professional cleaning with proper equipment is safer and more effective.
Step 3: How to Reset Your EV Charging System
Many EV charging faults can be cleared by resetting the vehicle's charging system. This doesn't fix physical damage, but it can resolve electrical faults and communication errors between the vehicle and charger.
For most Teslas, shift the vehicle into Neutral, then hold both scroll wheels on the steering wheel for 10-15 seconds until the screen goes black and the Tesla logo appears. For other EV brands, consult your owner's manual for the specific reset procedure.
After resetting, wait at least five minutes before attempting to charge. If the problem was a transient software glitch, this will resolve it. If the fault reappears immediately after reset, the issue is likely hardware-based and requires professional diagnosis.
Common EV Charging Faults and What They Mean
Understanding what your vehicle is trying to tell you is crucial. EV charging systems communicate through error codes and visual indicators.
Error codes on your vehicle's display
Error code 1 or "Charging Unavailable." The vehicle recognises the charger but refuses to accept power. This usually means the onboard charging system has detected a fault in the battery management system, the charging circuit, or a safety interlock (peer-reviewed research).
Error code 2 or "Cable Fault." The vehicle can't communicate properly with the charging cable or the cable isn't seated correctly. Remove and reinsert the cable firmly. If the error persists, the cable itself may be faulty.
Error code 5 or "Temperature Fault." The battery is outside the safe operating temperature range for charging. Allow the battery to warm or cool to a moderate temperature and try again.
Error code 10 or "Ground Fault." The charger has detected a fault in the electrical ground circuit. This is a serious safety issue. Do not attempt to charge. Professional diagnosis is required.
If your vehicle displays a code not listed here, consult the owner's manual or contact a specialist. KMC Electric can decode fault codes specific to your vehicle and identify what's actually wrong.
Charger recognises the vehicle but won't deliver power
This fault usually indicates a problem with the vehicle's onboard charger, the component that converts AC power from the charger into DC power for the battery. Alternatively, the battery management system may have detected a fault within the battery itself and disabled charging as a safety measure.
Try charging at a different location using different equipment. If the fault occurs at multiple chargers, the problem is definitely with the vehicle. This requires professional diagnostics to identify whether the fault is in the onboard charger, the battery management system, or the main battery pack itself.
Cable won't lock into the port
If the cable won't lock, or if it locks but then immediately unlocks, something is preventing the locking pins from engaging properly. This usually means the charging port is slightly misaligned, the locking mechanism inside the port is damaged, or the cable's connector is worn.
Try inserting the cable at a slightly different angle. If the cable locks but immediately unlocks, the port's retention mechanism may be failing and requires professional repair.
When to Seek Professional EV Diagnostic Services
Some charging faults are straightforward enough to diagnose at home. Others require specialist equipment and expertise. Seek professional help immediately if you've identified heavy corrosion, bent or damaged contacts, water or moisture inside the port, cracks in the port housing, error codes related to ground faults, or charging that works at one location but not others.
Professional diagnostics go far beyond visual inspection. Specialist technicians use diagnostic equipment to measure voltage and current at various points in the charging circuit, test the battery management system, and identify faults that aren't visible to the naked eye.
In Kettering and the surrounding area, KMC Electric provides comprehensive EV charging diagnostics. With Level 4 Master Technician status in electric vehicles and over 25 years of automotive experience, the team can identify exactly what's wrong with your charging system. Whether the fault is in the charging port, the onboard charger, the battery management system, or the main battery pack, proper diagnosis is the foundation of an effective repair. For out-of-warranty vehicles, professional diagnostics can offer a cost-effective alternative to main dealer charges.
Preventative Maintenance to Avoid Charging Port Problems
The best charging port problem is the one that never happens. Regular preventative maintenance protects your charging port and catches small issues before they become expensive failures.
Keep the charging port clean and dry. After each charging session, check that the port cover closes properly. In wet or coastal climates, inspect the port monthly for signs of corrosion or water ingress.
Protect the port from the elements using a protective cover when the vehicle isn't being charged. Handle the charging cable carefully, don't bend it at sharp angles, don't leave it coiled tightly in direct sunlight, and don't drag it across rough surfaces. Inspect the connector end regularly for signs of wear or corrosion.
Charge regularly but don't overcharge. Leaving an EV plugged in at maximum charge for extended periods can stress the battery management system. Charge to 80% for daily use and only charge to 100% when you need the full range (peer-reviewed research).
Professional illustration showing An EV for EV charging port not working
Use the same charging location when possible. Different chargers have different electrical characteristics. If you have access to a home charger, use it for routine charging and reserve public chargers for longer journeys.
Seasonal checks are worthwhile. Before winter, inspect the port and cable for any damage that might allow water ingress. In spring, check for corrosion caused by salt and moisture. Battery health monitoring is increasingly important as vehicles age. Modern EVs provide battery state-of-health information through their diagnostic systems. Monitor your battery's degradation over time.
For used EV buyers, independent battery health verification before purchase is invaluable. A professional assessment from a specialist like KMC Electric can confirm whether the battery is sound or degrading rapidly.
Charging port problems can range from simple fixes you can handle yourself to complex electrical faults requiring specialist diagnostics. The key is understanding what you're looking at and knowing when professional help is the better choice. If you're in Kettering or the surrounding area and facing a charging fault beyond basic troubleshooting, KMC Electric provides expert EV diagnostic services with transparent, practical solutions. With specialist knowledge of Tesla systems and other electric vehicles, the team can identify exactly what's wrong and recommend cost-effective repairs that keep your vehicle on the road.
Frequently Asked Questions
Q: Why is my electric car not charging when plugged in?
A: Your EV charging port not working can stem from several causes: a blown fuse in the vehicle, a faulty charging cable, corrosion inside the port, a tripped circuit breaker at the charger, or an internal battery management system fault. Start by checking whether the charger shows any error lights, then inspect the port for visible debris or moisture. If these basic checks reveal nothing, a professional diagnostic can identify whether the issue lies in the onboard charger, the home installation, or the vehicle's battery management system.
Q: How do I know if my EV charging port is damaged?
A: Look for visible signs: corrosion (a greenish or white coating on contacts), bent or misaligned pins, cracks in the plastic housing, or moisture inside the port. Try gently inserting the charging cable—if it feels loose, won't lock, or the connector feels hot during charging, the port contacts may be worn or damaged. If you notice a burning smell, sparking, or the charger repeatedly disconnecting, stop using it immediately and seek professional inspection to avoid safety hazards.
Q: Can I clean my electric car charging port myself?
A: Yes, but carefully. Switch off the vehicle and charger first. Use a soft, dry brush or compressed air to remove loose debris and dust. For light corrosion, a cotton swab lightly dampened with white vinegar can help, but never spray liquid directly into the port. Allow it to dry completely before attempting to charge. Avoid metal tools or excessive force, as you can damage the delicate contacts. For stubborn corrosion or moisture trapped inside, stop and contact a professional—attempting aggressive cleaning risks making the problem worse.
Q: What should I do if my charging cable is stuck in the port?
A: Do not force it. Switch off both the vehicle and the charger to release the locking mechanism. Wait a few seconds, then gently wiggle the cable side-to-side while applying steady, light pressure to withdraw it. If it remains stuck, check whether the vehicle's touchscreen shows a 'cable locked' message and try unlocking it from there. If the cable still won't release, stop attempting removal and contact a professional EV diagnostic service—forcing it can damage the port's locking pins or the cable connector.