Why Your EV Won't Charge at Home: The Main Culprits
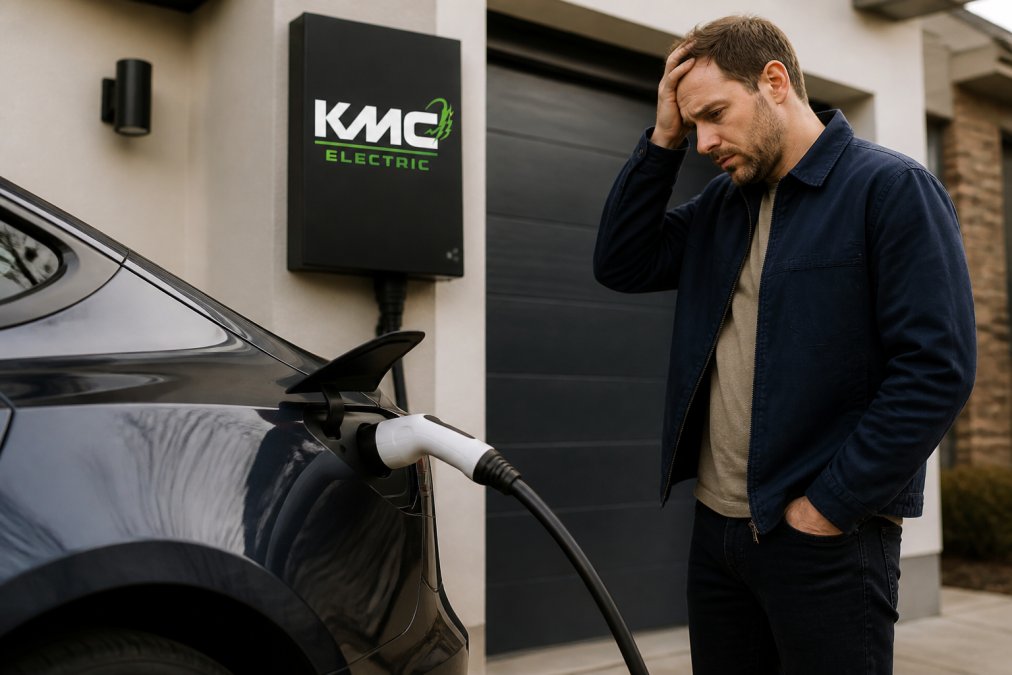
When an electric vehicle won't charge at home, the problem almost always sits at one of three decision points: the charger itself, the vehicle's charging system, or your home's electrical installation. Most owners assume the worst and book a main dealer appointment. In reality, many issues are straightforward to diagnose and often fixable without specialist intervention.
At KMC Electric, we've worked through many charging faults across Tesla and other EV models. The pattern is always the same: follow the steps in order, and you'll identify the root cause. This guide walks you through exactly how to troubleshoot when your EV won't charge at home, starting with the simplest checks and progressing to more involved diagnostics.
Common Electric Vehicle Charging Problems: Quick Diagnosis
Most charging failures announce themselves through visual indicators or error codes. A solid green light on your home wallbox means it's ready; amber or red indicates a fault. Check your charger's manual for specific error codes, but common patterns include ground faults, overcurrent detection, or loss of communication with the vehicle.
Your EV's dashboard will display a charging fault if the vehicle detects a problem. If you see "Charging unavailable" or similar messaging, the vehicle's onboard charger has detected a fault. This is different from a wallbox failure and requires different troubleshooting.
Step 1: Check the Charging Cable and Connector
A damaged or loose charging cable is responsible for roughly one in three charging failures. Inspect the cable visually along its entire length for cracks in the insulation, exposed wires, burn marks, or discolouration. Pay particular attention to where the cable enters the connector, a stress point where damage often appears first.
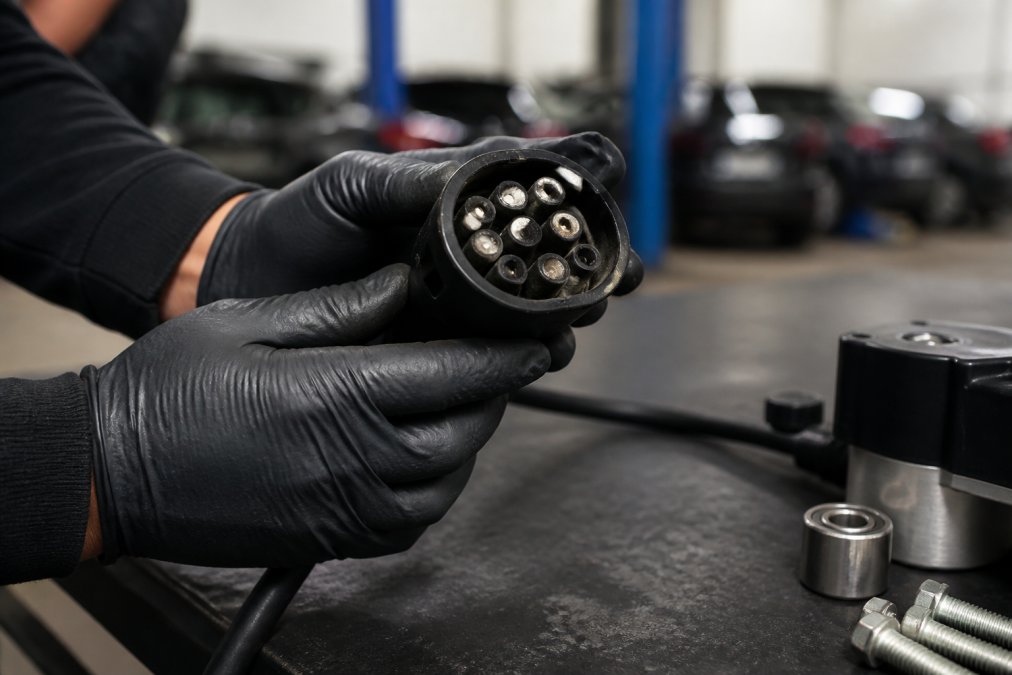
Check the connector itself. The pins inside should be clean and straight. If you see corrosion (a white or blue-green coating) or bent pins, the connector is faulty. Gently flex the connector where it meets the cable to feel for internal breaks.
Now test the connection. Plug the cable into your vehicle's charging port firmly and listen for a click. The connector should seat with a satisfying engagement. If it's loose or feels like it's sliding without resistance, the connector is worn and needs replacement.
Process diagram showing steps for Professional for EV won't charge at home
If the cable looks intact and connects firmly, move to the next step. If you've spotted damage, the cable needs replacing.
Step 2: Inspect the Charging Port for Debris or Obstructions
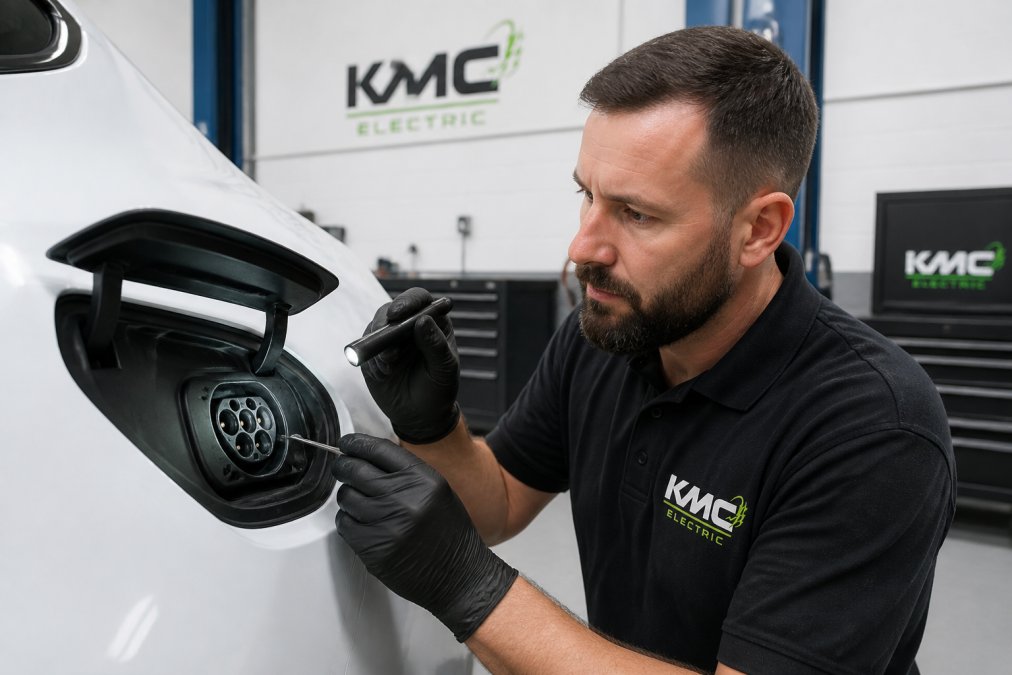
A blocked or dirty charging port is the second most common culprit. Open your vehicle's charging port cover and look inside for loose debris, corrosion, or moisture. Use a torch to see clearly. If you spot dust or dirt, use a soft brush or compressed air to gently clear it. Never use water or liquid cleaners inside the port.
Check the port's metal contacts. They should be clean and shiny. If they're discoloured or corroded, they won't make proper electrical contact with the connector. A small amount of corrosion can be cleaned gently with a dry cloth. Significant corrosion requires professional attention.
Feel inside the port with your finger (the vehicle should be powered off). The contacts should be firm and fixed in place. If any contacts are loose or move when touched, the port itself is damaged and needs repair.
Step 3: Diagnose EV Charging Cable Faults
If the cable looks clean and the port is clear, the problem may be inside the cable or connector. Before testing, do a final visual check. Bend the cable gently along its length and watch for any movement inside the outer sheath, which suggests internal wire breakage. Twist the connector gently; any movement or cracking sounds indicate internal damage.
A continuity tester (a cheap tool from any electronics supplier) will tell you whether electricity can flow through the cable. Set the tester to continuity mode, touch one probe to the pin inside the connector and the other to the corresponding contact at the cable's vehicle end. A beep or light indicates continuity; no response means an open circuit inside the cable.
If you have a multimeter, you can also measure voltage. With the charger powered on and the cable plugged into the wallbox (but not the vehicle), measure the voltage between the live and neutral pins. You should see approximately 230 volts. No reading suggests the charger isn't supplying power. If you're not confident using a multimeter, skip this step and move to the next one.
Step 4: How to Reset Home EV Charger and Check Settings
Many charging failures are software-related. Your home wallbox runs firmware that manages communication with the vehicle and monitors electrical safety. A simple reset often clears temporary faults.
Switch off the circuit breaker that supplies your charger for 30 seconds, then switch it back on. This performs a full power cycle and clears any temporary errors. Wait two minutes for the charger to fully restart, then plug your vehicle in and attempt to charge.
If the charger is still unresponsive, check that the circuit breaker itself hasn't tripped. A tripped breaker suggests an electrical fault in the charger or the circuit it's on. Reset the breaker once; if it trips again immediately, do not keep resetting it. This indicates a ground fault or short circuit that requires professional diagnosis.
Some chargers allow you to configure the maximum current they'll draw. If the amperage setting is too low, charging will be very slow. Check your charger's manual or app for the current setting and increase it to the maximum your home's electrical installation can support. Most domestic installations support 32 amps; some older ones are limited to 16 amps.
If your home has solar panels or battery storage, check whether load balancing is enabled. Load balancing automatically reduces charger current if other appliances are drawing power. Disable it temporarily to test whether charging resumes at full power.
Step 5: Test Your Vehicle's Charging System
If the charger and cable are working correctly, the problem is likely in the vehicle itself. The vehicle's onboard charger converts mains AC power to DC power for the battery. If this component has faulted, the vehicle will refuse to charge even if external power is available.
Check whether your EV has a pending software update available. Charging faults are sometimes resolved by vehicle software updates. If an update is available, install it while the vehicle is plugged in. Restart the vehicle after the update completes and attempt to charge again.
Every EV has a small 12-volt auxiliary battery separate from the main traction battery. This 12V battery powers the vehicle's computers and charging management circuits. If the 12V battery is low or faulty, the vehicle cannot initiate charging. Check your vehicle's battery status on the dashboard. If you see a warning light or low-battery message, disconnect the negative terminal of the 12V battery for 30 seconds, then reconnect it. This performs a soft reset of the vehicle's electrical systems. Restart the vehicle and attempt to charge. If the warning persists, the battery itself is faulty and needs replacement.
Step 6: Check Your Home Electrical Installation
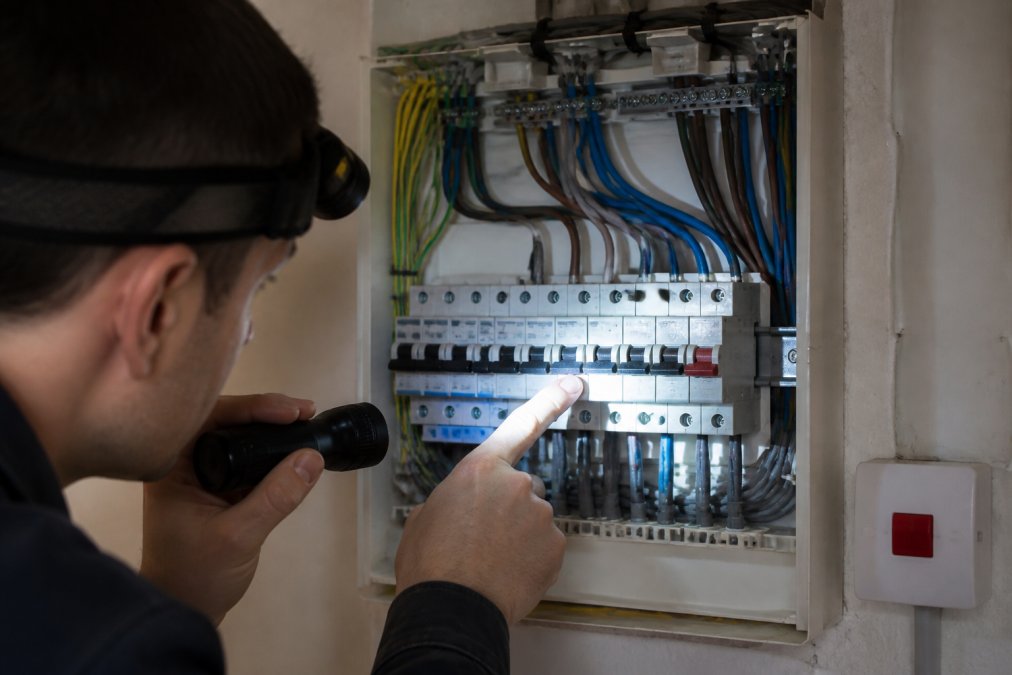
If the vehicle and charger are functioning correctly, the problem lies in your home's electrical supply. Locate the circuit breaker dedicated to the charger circuit and check whether it has tripped (the switch will be in the middle position or fully off). A tripped breaker indicates an overcurrent or ground fault on that circuit.
Reset the breaker by switching it fully off, then back on. If it trips again immediately, do not keep resetting it. A repeatedly tripping breaker signals a serious electrical fault that requires professional investigation.
Modern installations include a residual current device (RCD), sometimes called a ground fault circuit interrupter. This device detects current leaking to earth and cuts power instantly if it detects a fault. If your charger is tripping an RCD repeatedly, the charger or the circuit has a ground fault requiring professional investigation.
Process diagram showing steps for Qualified for EV won't charge at home
Cold and damp weather can cause temporary charging failures. In winter, condensation inside the charging connector can prevent proper electrical contact. If charging fails on a cold, damp morning but works later in the day, moisture is likely the culprit. Allow the connector to dry completely before attempting to charge again. Heavy rain can also trigger ground fault detection if water has entered the charger housing. If you've had recent heavy rain and your charger suddenly stops working, wait for the area to dry and attempt charging again.
Troubleshooting Summary and When to Call a Specialist
The troubleshooting steps above follow a logical sequence: external checks first, then vehicle diagnostics, then home electrical systems. Most charging failures are caught by steps one through four. If you've worked through all six steps and your EV still won't charge at home, the fault is either complex or requires specialist equipment to diagnose.
Contact an independent EV specialist or your vehicle's manufacturer. Provide them with the following information: which steps you've completed, what the charger display shows, what error messages the vehicle displays, and whether the problem is consistent or intermittent. This information helps a technician narrow down the fault quickly.
If your vehicle is still under warranty, check whether the charging fault is covered. Some charging issues, particularly those involving the vehicle's onboard charger or 12V battery, are warranty-eligible. If you're out of warranty and facing a costly repair, KMC Electric offers independent diagnostics and repair for Tesla and other EV models across Kettering and the surrounding area. Our Level 4 Master Technician status in electric vehicles means we can identify faults accurately and provide cost-effective solutions.
For used EV buyers in Northamptonshire or Leicestershire considering a vehicle with a history of charging problems, KMC Electric also provides independent battery health verification and charging system diagnostics before purchase. This protects you from inheriting expensive faults and gives you confidence in your investment.
When your EV won't charge at home, the problem is almost always one of six things: a faulty cable, a blocked port, a tripped charger, incorrect settings, a vehicle-side fault, or an electrical issue in your home. Work through the steps methodically, and you'll either fix the problem or gather the information a technician needs to do it quickly. If you're in the Kettering area and need professional support, KMC Electric specialises in exactly this kind of fault diagnosis. We'll identify the real problem, explain your options, and deliver a practical fix that gets you charging reliably again.
Frequently Asked Questions
Why won't my electric vehicle charge at home even though it's plugged in?
Your EV may not be charging due to a faulty charging cable, debris in the charging port, a tripped circuit breaker, or an issue with the vehicle's battery management system. Start by checking the cable for damage, inspecting the port for obstructions, and ensuring your home charger is powered on. If the charger shows an error code, note it—this often pinpoints the exact problem. If basic checks fail, the issue could be with the auxiliary 12V battery or a vehicle software fault that requires professional diagnosis.
Can a faulty charging cable prevent an EV from charging?
Yes. A damaged or faulty EV charging cable is one of the most common causes of home charging failure. Damage can be visible (cuts, bent connectors, corrosion) or hidden (broken internal conductors, failed ground connections). If you suspect cable faults, inspect it visually first, then test continuity with a multimeter if you have one. Many home charging issues resolve simply by replacing a worn cable—this is far cheaper than replacing charger hardware or diagnosing vehicle faults unnecessarily.
How do I reset my home EV charger if it stops working?
Most home chargers can be reset by switching off the circuit breaker for 30 seconds, then switching it back on. Some wallboxes have a dedicated reset button—check your manual. After reset, check that the charger display shows normal operation and no error codes. If the charger still won't respond, check that the correct amperage settings are configured for your home electrical supply. Weather conditions can also trigger temporary faults; if it's very cold or damp, wait an hour and try again before calling for professional help.
Does weather affect home EV charging performance?
Yes, weather can significantly impact charging. Cold temperatures slow battery chemical reactions, reducing charging speed and sometimes preventing charging altogether until the battery pre-conditions itself. Heavy rain or moisture can trigger ground fault detection on your charger, causing it to shut down as a safety measure. High humidity can also cause temporary connectivity issues. If charging fails during poor weather, try again when conditions improve. Persistent weather-related failures may indicate a fault in your charger's weatherproofing or electrical grounding—this requires professional inspection.